
In some cases, it's usefull to block internet access in your Desktop(s). This setting can only be applied by an Cloudalize Administrator and requires some technical knowledge. I'll try to explain how to apply this setting in a few steps below.
The internet access will be blocked by using an ACL (Access Control List). Any experience with ACLs will make this guide easier to understand. But no worries if you haven't any experience with ACLs.
An ACL is a set of rules which allow or deny incoming/outgoing traffic. All the rules must be numbered in a specific order. The rule number defines the priority, so: the lower the rule number, the higher the priority.
A guide to block internet access in Cloudalize:
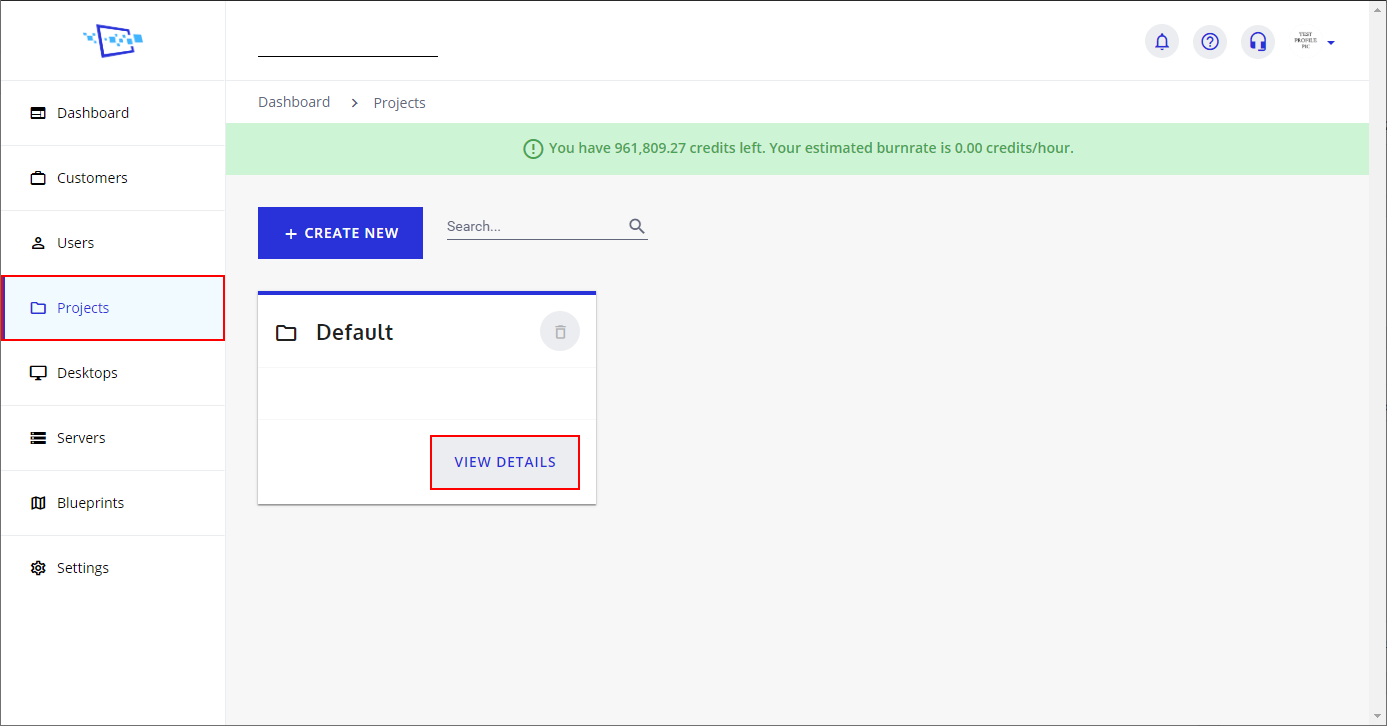
- Logon to Cloudalize with an Administrator account.
- Navigate to Projects > Default > Network
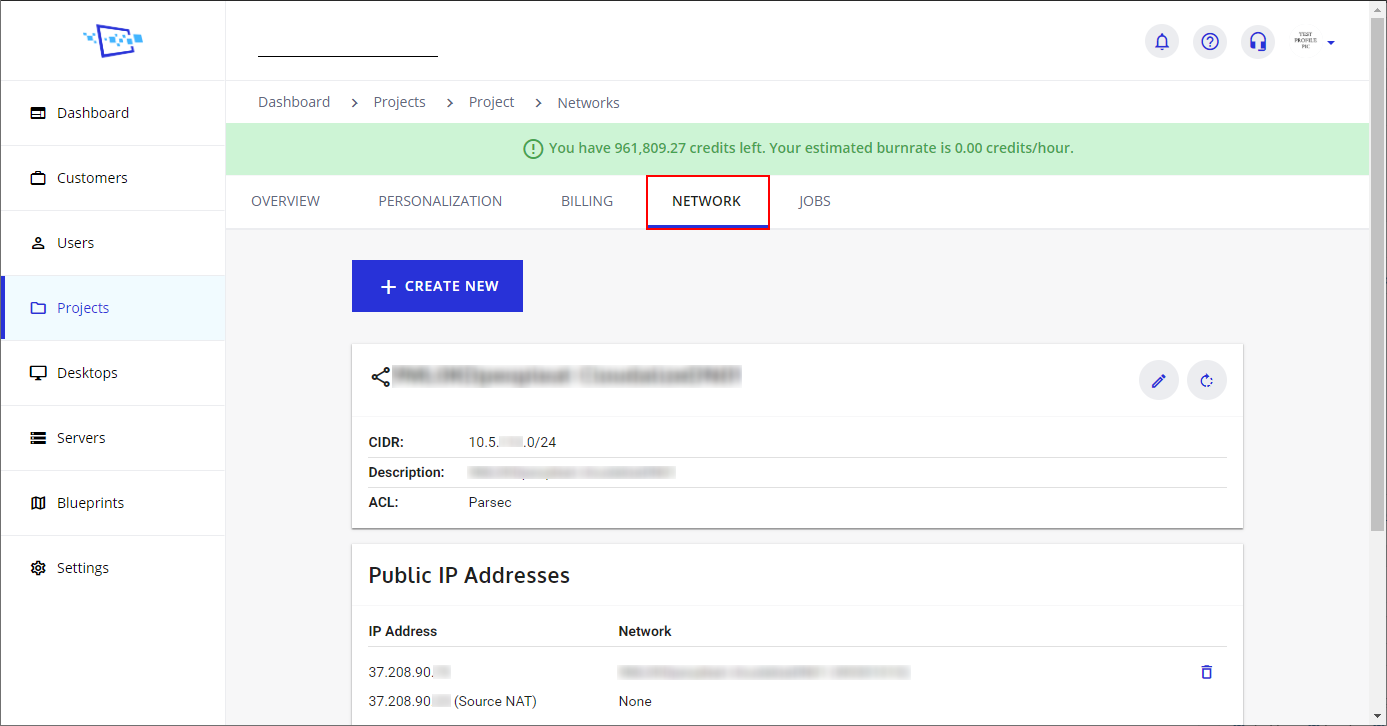
- Scroll down to "Network ACLs" section and press the "+" sign

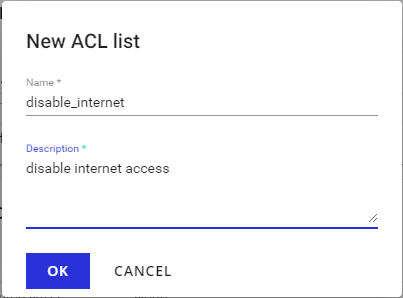
- Insert an appropriate Name & Description (note that both fields are required), and press OK
- You're ACL is created, but has no rules yet.
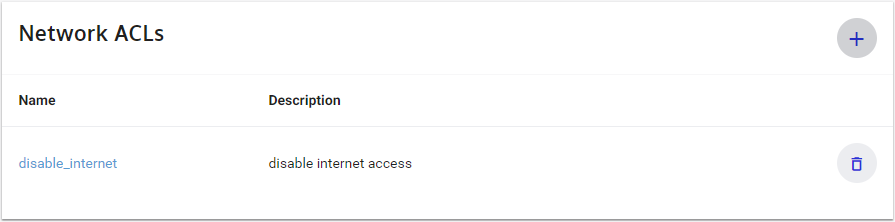
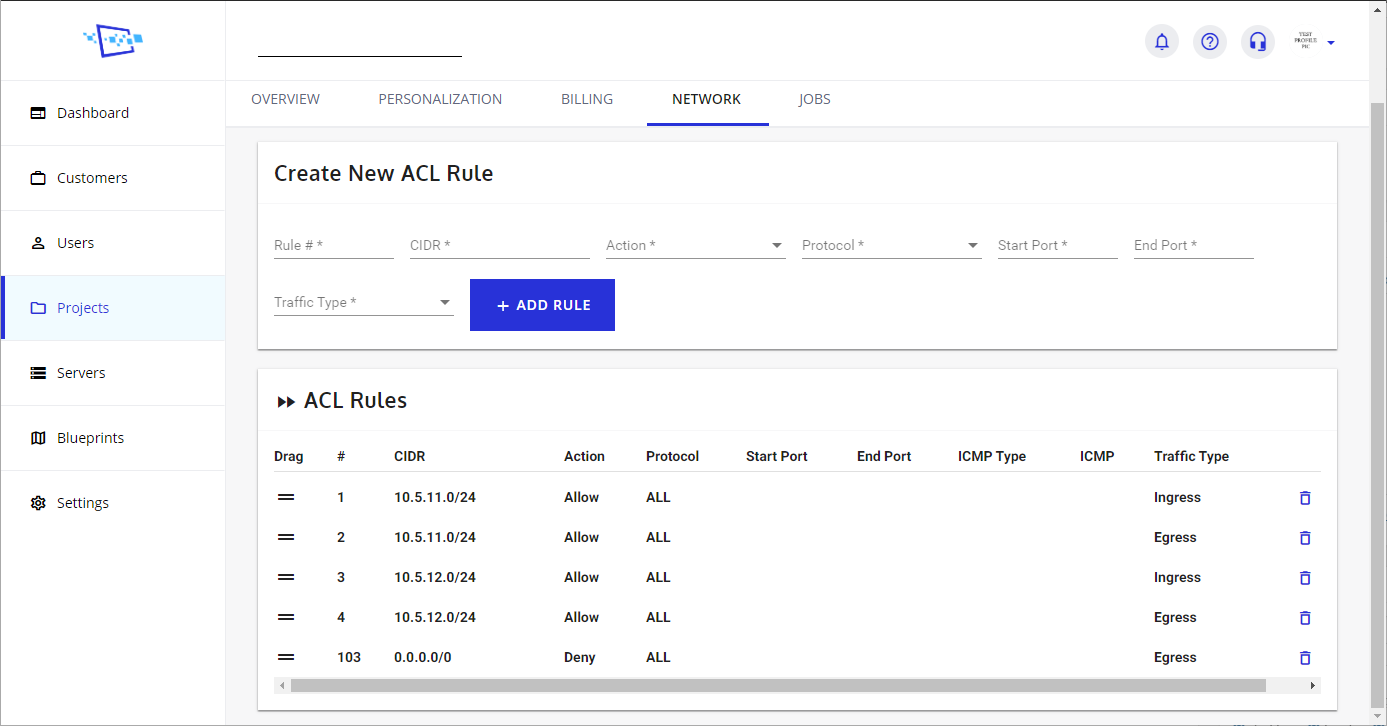
- To add rules to your ACL, click on the name of your ACL.
- Please note that below IP ranges only apply for HAY01 platform.
Fill out the details for the rules in the blue section on top of your screen. Add the following rules: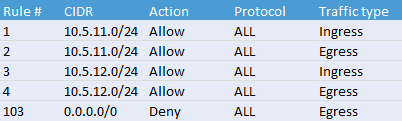
Rule 1: allows incoming traffic from 10.5.11.* (our backend)
Rule 2: allows outgoing traffic from 10.5.11.* (our backend)
Rule 3: allows incoming traffic from 10.5.12.* (our backend)
Rule 4: allows outgoing traffic from 10.5.12.* (our backend)
Rule 103: blocks all outgoing traffic to other IPs than the ones in previous rules - Finally you'll get something similar to this:
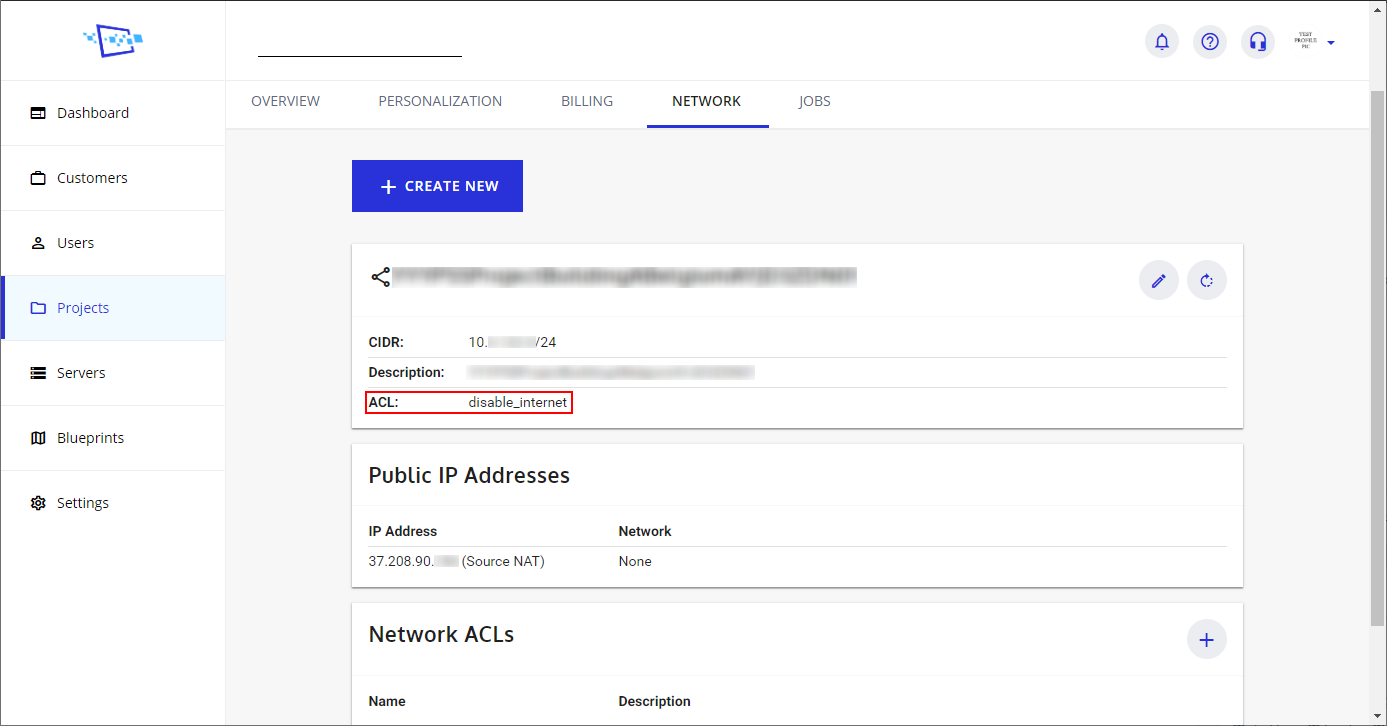
- Now, return to the Network tab, and apply the ACL by clicking the
 icon
icon
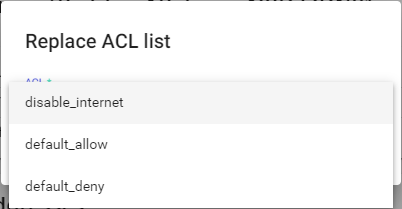
- Select the "disable_internet" ACL and press OK
- The ACL is active
If you struggle to create this rules, or you're not sure about what your doing, don't hesitate to contact support via support@cloudalize.com to assist you.
To re-enable internet access, select ACL "default_allow" in step 10.
Comments
0 comments
Please sign in to leave a comment.