
Enable two factor authentication:
- Sign in to your Cloudalize Platform and navigate to your Profile page

- Now scroll down to the security section on that page and click on the Enable button

- Once you click the enable button you will be redirected to the two factor authentication activation screen with a QR code
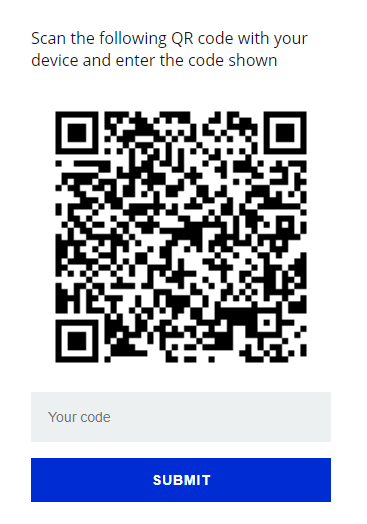
- Scan the QR code using the Google Authenticator application. You can download the Google Authenticator on both Apple App store or Android Play store
- Enter the code received using the Authenticator application in Your code field
- Click on the Submit button to continue the process of two factor authentication activation
- If the code entered is correct, the process of two factor authentication will be finished and you will receive a reset code that can disable the two factor authentication when you need to. Store this code in a safe place, you will need it to disable the two factor authentication in case you lose your device
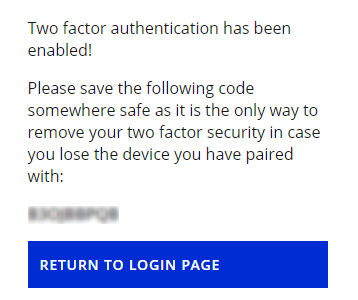
- Click on the "Return to login page" button and fill in your email to continue the login activity
Login with two factor authentication:
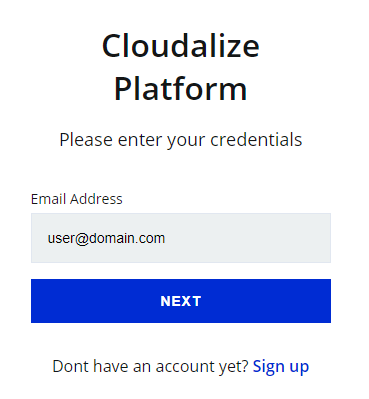
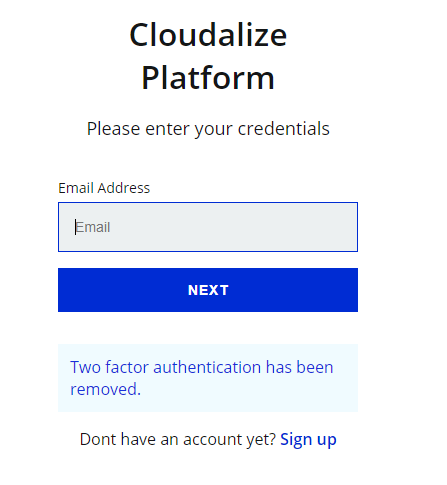
- Fill in the email address which has two factor authentication enabled, as shown in the picture below
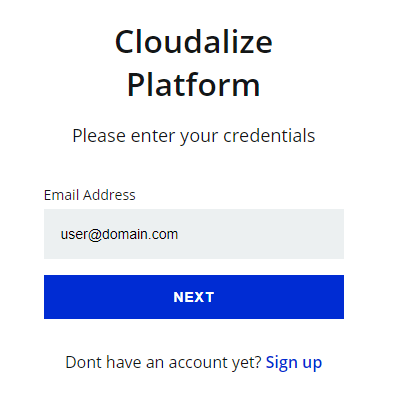
- Click on the Next button
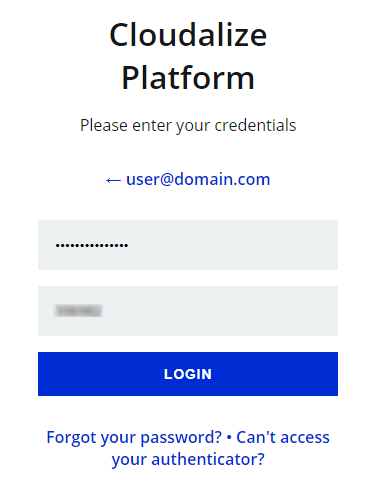
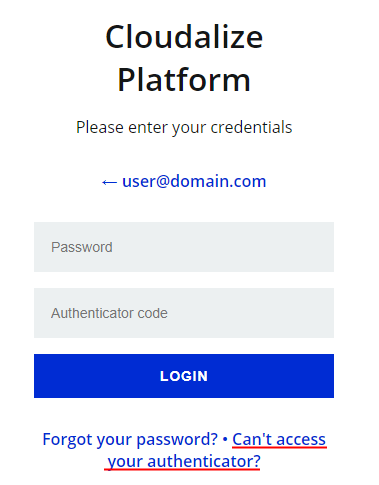
- Now give type your password and insert the authenticator code that is generated by the Authenticator application in designated field
- Click Login
Disable two factor authentication:
Two factor authentication can only be disabled by :
- The user
- The admin user
- Using the reset code that was received at the two factor authentication activation
Disable as user:
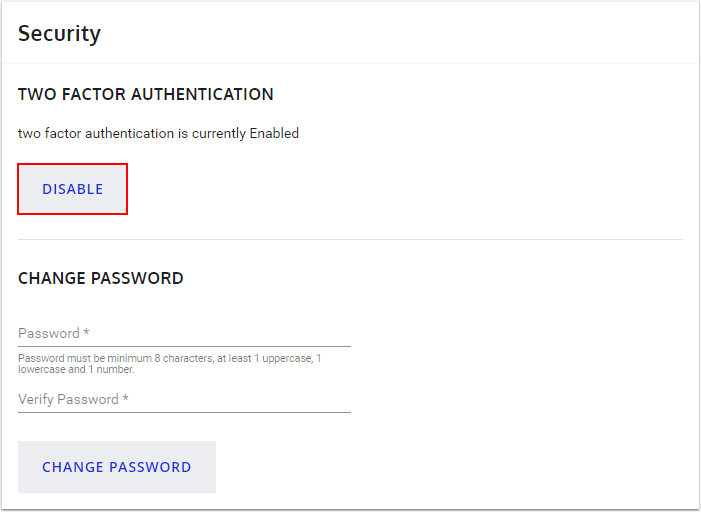
- Navigate to the profile page and scroll to the security section
- Here you can click the Disable button displayed in the security section
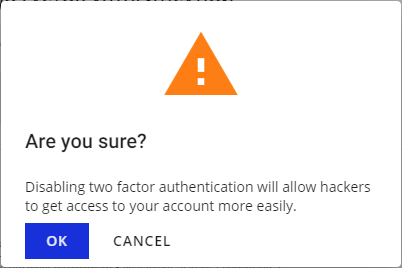
- When you press Disable you will see a pop-up asking you to verify disabling two factor authentication
- Press OK
Disable as admin user:
- Login as admin user onto the Cloudalize platform and navigate to the Users page
- Click on the specific user for whom you wish to disable two factor authentication
- In the summary section you will see the option Two Factor Authentication: Enabled - (Disable?)
- Click on Disable

- You will get a pop-up notification asking you to verify to disable the two factor authentication, click OK
- Once you have clicked OK the two factor authentication for this user will be disabled
Disable by using the reset code:
- Navigate to the Cloudalize Login page and fill in your email address, and click Next
- Now you need to enter you password and authenticator code, click on Can't access your authenticator (as displayed in the image below)
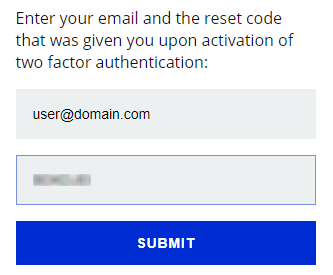
- In the next step you will need to enter the email address and the reset code that you received during the two factor authentication and click the Submit button
- After executing the above steps, you will be redirected back to login page where the message "Two factor authentication has been removed" will be displayed under the login form and two factor authentication disabling process will be finished
Comments
0 comments
Please sign in to leave a comment.